2007 09 29 -- Success!
E1 (a rare, unobtanium SP314 chip) on the M8331 was dead, and the output was always high.
This means that the card logic figured it was permanently selected.
The symptoms were that the machine would execute a few instructions and hang.
Looking at the OMNIBus, I saw that the NOT LAST XFER L line was stuck low.
This tells the 8 not to exit out of the final time state.
You can see that this is happening even without looking at the bus -- the symptoms are that the data in the front panel
doesn't get updated.
As an aside, the front panel puts two lines, IND 1 L and IND 2 L, onto the OMNIBus to tell
the major registers gating function what data to place in the DATA lines during TS1. Quite an
interesting way of doing it, but unfortunately, it means that not all the registers (e.g., MQ) are available
all the time on the bus.
So, putting a scope to pin 3 of E1 showed that it was high all the time, even when some of its inputs were changing state.
Since it's a 7-input NOR gate, you'd expect the output to be high only when NONE of the inputs was high.
Next I wrote a simple exercising program:
LOOP, 0000 7604 LAS    / get SR into AC
      0001 6704 KLSA   / put AC into status A register
      0002 6706 KGOA   / assert status A register
      0003 5000 JMP LOOP
This way, by manipulating the switches, I was able to control the tape and verify functionality of both drives.
The drives seem to be slowing down in "forward" mode, so I'm going to have to do some maintenance on the motors :-(
[On further reflection, I think it's the rubber that's worn on the "clutch" mechanism for the "forward" motor. Sigh.]
But, the good news is that I was able to control the forward/reverse/rewind functionality for each drive.
Also, the NOT LAST XFER L still seems to be asserted (low).
I've temporarily gotten around this by placing a small piece of clear tape over the CM2 edge connector.
Yes, this is a gross hack, but it allows me to run programs so that I can exercise the rest of the card until I figure out
why the NOT LAST XFER L line is being asserted. Of course, this is in an area of the
board that has some ECOs done to it -- NOT LAST XFER L normally would have been feed by TS4, but
that trace is cut and some additional logic inserted into its place. Yay.
The above code sample is a small lie, actually; I added a few NOP instructions after each IOT because since
the I/O cycles were not being "properly" extended by the NOT LAST XFER L signal there was a tendency to lose the
IOT.
The TA11A (the second
TU60 unit I have) has now been restored, and a power up test almost yielded smoke!
Transistors Q37 and Q38 on the M7761 got really hot, and so I turned it off.
It's on the shelf for now.
|
2007 10 02 -- Roller Repair
 S
M
L
XL
S
M
L
XL
Well, the rubber on the wheel that is attached to the drive spindle is gone -- hardened and cracking.
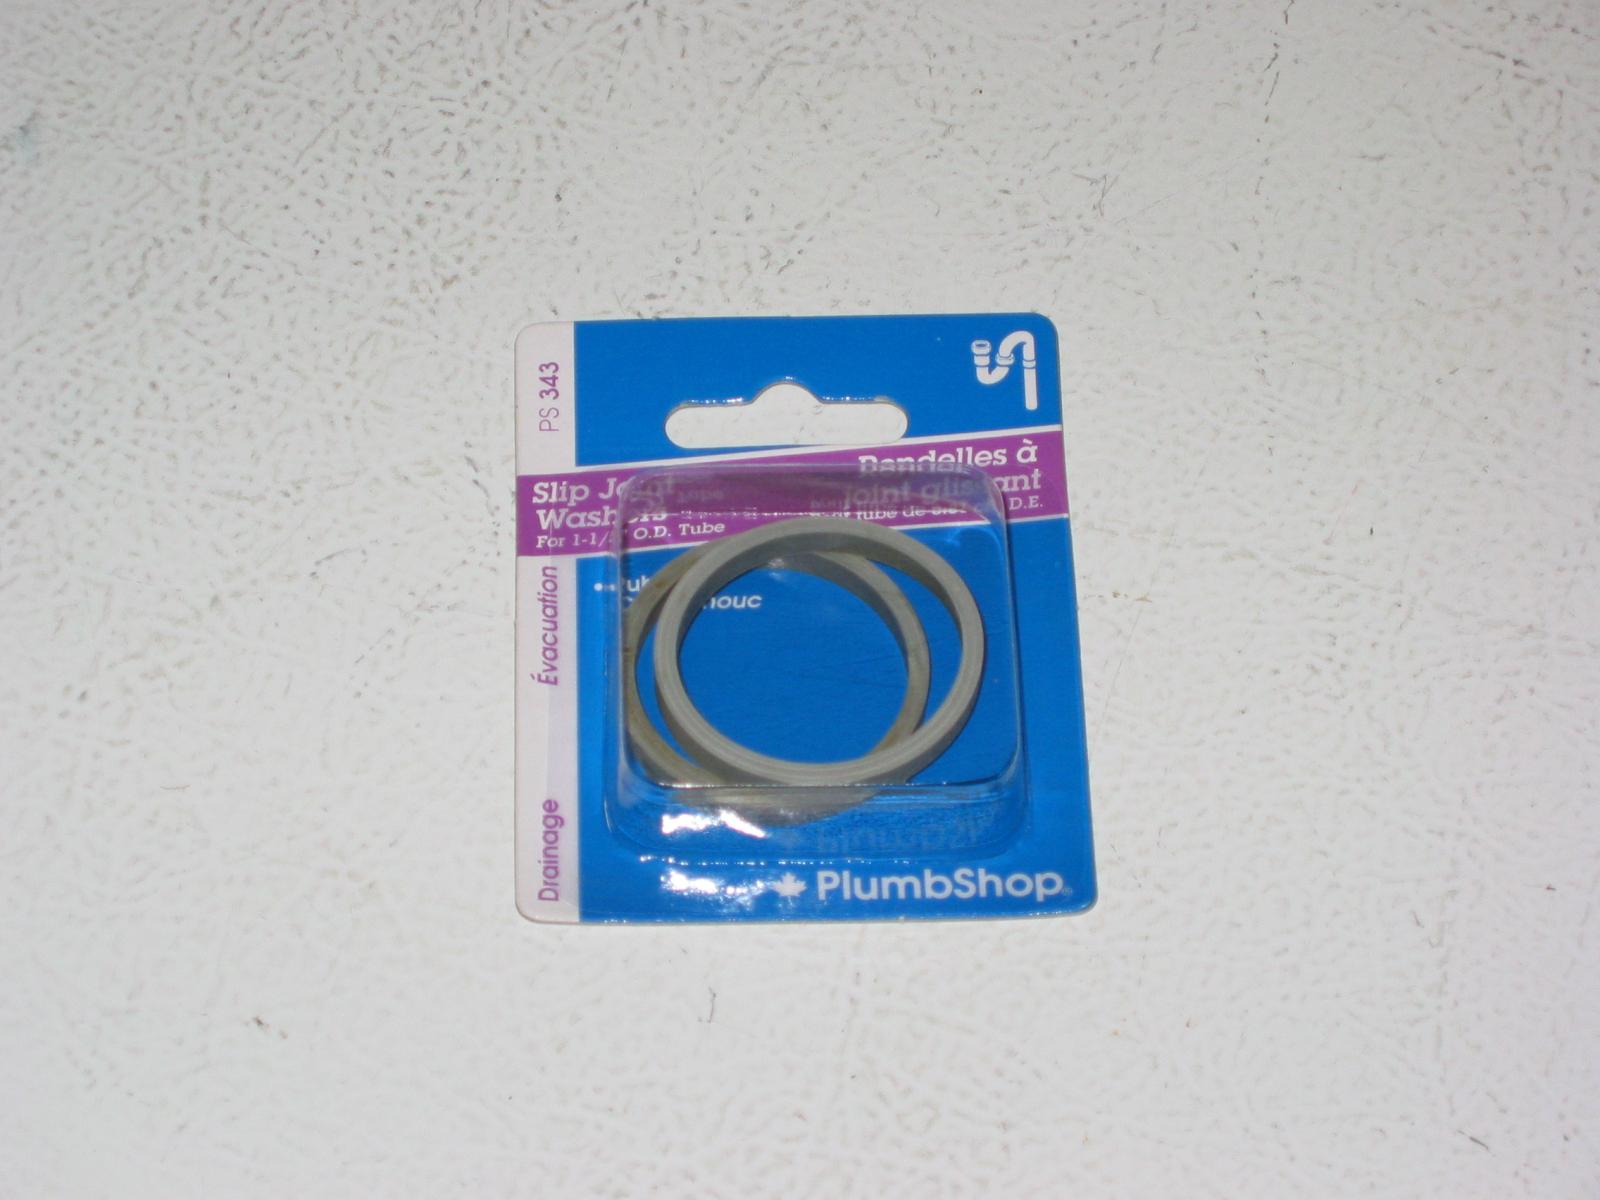
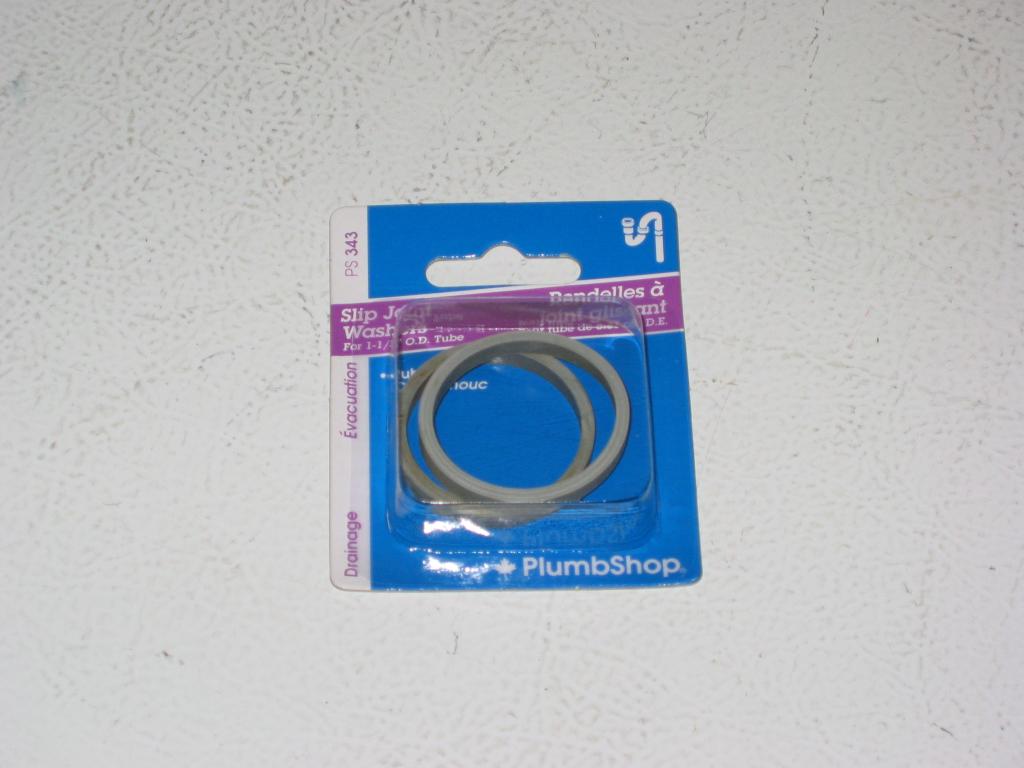
I found a suitable replacement at the local hardware store (Home Hardware; Canadian Tire also has them).
They are "Slip Ring Washers" for "Drainage", and are for 1-1/4" outer diameter.
They fit exactly in place of the rubber.
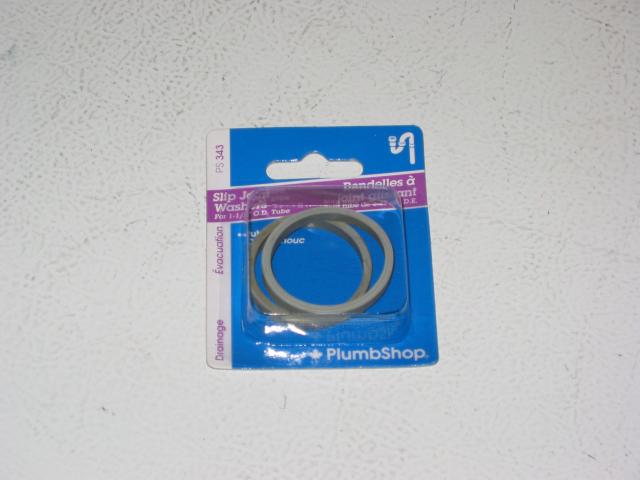
The one shown is the 1-1/2" one that I bought first; too big. Definitely use the 1-1/4" one -- part number PS349W instead of PS343 as shown.
So, the restoration process was to remove the old rubber (I left a tiny little thin layer of it on the wheel), and put this one on.
However, this one is thicker than the old one, and won't work -- so you need to take the spindle and put it into your drill,
and then sand the rubber down to the required thickness.
Once that's done, you can then attach it permanently to the wheel (I used "Goop"), let it dry for a few hours, and you're back in business!
One down, three more to go.
I'm going to exercise this one wheel for a while to verify that there's some longer term wear potential here before I commit the other three.
15 complete passes through a data tape; I think it's going to work!
|